Understanding Drone Photography Editing
What is Drone Photography Editing?
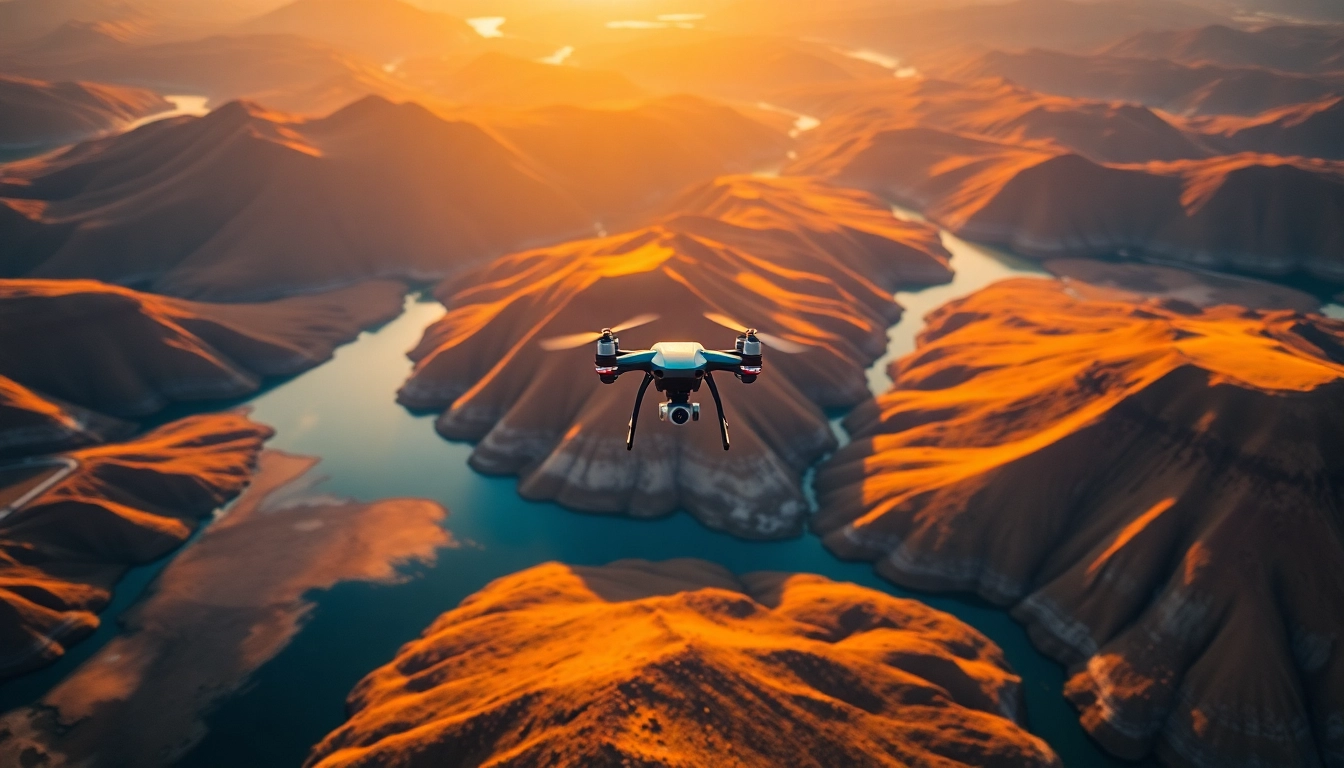
Drone photography editing is the process of enhancing and modifying images captured by drone cameras to improve their overall visual appeal and effectiveness. It involves a range of techniques that address various aspects of the image, such as color, exposure, sharpness, and more. High-quality editing can convert a standard drone shot into a breathtaking aerial image, making it essential for photographers who want to showcase their work effectively and compellingly. This type of editing goes beyond basic adjustments and often includes advanced techniques to make the photos stand out in a cluttered digital space. For many photographers, mastering drone photography editing can significantly enhance their portfolio and appeal to potential clients.
Essential Software for Editing Drone Photos
When it comes to editing drone photography, having the right software is vital. Here are some of the most popular options:
- Adobe Lightroom: Widely used by professional photographers, Lightroom offers powerful color correction and exposure adjustment tools, making it ideal for drone image editing. Its ability to work with RAW files gives photographers greater flexibility in post-processing.
- Adobe Photoshop: While often seen as a more complex tool, Photoshop provides extensive capabilities for detailed editing, including layering and masking. It’s perfect for advanced techniques like blending multiple exposures or removing unwanted elements from a scene.
- Affinity Photo: A more affordable alternative to Adobe products, Affinity Photo is quickly gaining popularity among photographers for its robust feature set and intuitive interface that caters to both beginners and advanced users.
- Capture One: Known for its exceptional RAW processing and color grading capabilities, Capture One is favored by professional photographers for its high-quality output and customization options.
- DroneDeploy: This specialized software focuses on mapping and photogrammetry, allowing users to create detailed 3D models and maps from their drone imagery, which can be incredibly useful for specific industries.
Common Challenges in Drone Photography
While drone photography presents amazing opportunities for capturing stunning visuals, it also comes with unique challenges. Understanding and preparing for these challenges can improve your final edits significantly. Some notable difficulties include:
- Dynamic Range: Aerial images often portray vast landscapes that exhibit a wide range of brightness levels, making it challenging to retain details in both shadows and highlights. This limited dynamic range can result in images that appear washed out or overly dark.
- Weather Conditions: Varying weather can impact photography quality. Overcast days can create flat images, while bright sunny days may lead to harsh shadows. Adjusting during editing to compensate for these conditions is crucial.
- Distortion and Noise: Drone cameras often introduce distortion, particularly in corners of images, and may exhibit noise in lower light conditions. Correcting these issues requires additional steps during the editing process.
- Battery Life and Flight Limitations: A photographer’s time in the air is limited by battery life, which can restrict the ability to capture multiple angles or varied compositions of the same scene.
- Legal and Safety Concerns: Understanding local regulations and practicing safe piloting can influence where and how you shoot, which may affect the type of imagery captured.
Basic Techniques for Effective Editing
Color Correction Basics
Color correction is a foundational aspect of drone photography editing. It involves adjusting the colors in your image to ensure they appear natural and true to life. This process includes balancing whites, enhancing primary colors, and correcting color casts. Here are steps to effective color correction:
- White Balance: Start by assessing the white balance in your image. Utilize temperature and tint sliders to achieve a neutral balance, which may prevent unnatural warmth or coolness in your photo.
- Hue Adjustments: Use hue adjustments to enhance or neutralize certain colors. Be cautious not to overdo this step, which could lead to unrealistic images.
- Vibrance and Saturation: Boost vibrance to enhance muted colors while preserving skin tones and overall texture. Increasing saturation affects all colors equally, so adjust with care.
Adjusting Exposure and Contrast
Proper exposure is crucial in drone photography, as it influences the overall clarity and detail of the image. However, even if a photo is perfectly captured, adjustments may still be required during editing:
- Exposure: Use the exposure slider to lighten or darken the entire image. This is especially useful for images taken in bright sunlight or poorly lit environments.
- Contrast: Increasing contrast can add depth and dimension to flat images. Aim for a good balance; too much contrast can obscure details.
- Highlights and Shadows: Fine-tuning highlights and shadow sliders allows you to retrieve details in overexposed and underexposed areas.
Enhancing Details with Sharpening
Sharpening is a key online photo editing tip that improves visual clarity. It enhances the edges of objects in your images, resulting in a more defined appearance. Consider the following methods during sharpening:
- Unsharp Mask: This technique is a traditional method for enhancing sharpness. Carefully adjust radius and threshold parameters to achieve an ideal look without losing natural appearance.
- Clarity: This adjustment enhances midtone contrast, giving the image an overall clearer and more crisper appearance. Be mindful, as excessive clarity can lead to a harsh look.
- Texture and Dehaze Tools: Many editing software tools have texture and dehaze sliders that enhance local contrast and bring out fine details without globally sharpening the entire image.
Advanced Editing Techniques
Creating Dynamic Range through HDR
High Dynamic Range (HDR) imaging is a technique that combines multiple exposures to capture a greater range of luminosity. This is especially beneficial for drone photography, where capturing vast landscapes often leads to high contrast between bright skies and dark land. Here are the basics of executing HDR editing:
- Capture Multiple Exposures: Start by taking a series of photos at different exposure settings (overexposed, normally exposed, and underexposed).
- Merge in Software: Use editing software capable of HDR processing to merge the images. Most programs can automatically align and adjust these images.
- Fine-tune the Result: Once combined, implement additional edits to optimize color, contrast, and detail as required.
Using Masks for Precision Editing
Masking is an advanced editing technique that allows for localized edits without affecting the entire image. This is crucial when correcting specific areas, such as enhancing the saturation of a sunset while keeping the sky’s detail intact. Techniques include:
- Layer Masks: Utilize layer masks in Photoshop or similar programs to protect parts of the image. This allows for targeted adjustments only on the visible areas of the mask.
- Gradient Masks: Gradient masks are essential for blending skies with landscapes, permitting a smooth transition between altered and original elements.
- Selective Color Correction: Use masks to create selective color changes that only impact the designated areas while maintaining the original colors in other parts of the image.
Blending Multiple Exposures
Blending different exposures can enhance the visual interest and detail of drone photographs significantly. This process can be done either manually or through automated features in editing software. Here’s how to approach it:
- Layer Setup: Import all exposures into your editing software and arrange them on separate layers.
- Blending Modes: Experiment with blending modes, such as Overlay or Soft Light, to combine layers effectively, aiming for a harmonious final image.
- Refine with Masks: Implement masks to control the visibility of each layer selectively—this can help ensure that the most favorable aspects of each exposure are represented.
Optimizing Images for Online Use
Best Formats for Aerial Photography
When sharing drone images online, selecting the correct file format is essential. The most frequently used formats in aerial photography include:
- JPEG: This format is favored for sharing and web use due to its smaller file size, allowing faster uploads while retaining acceptable quality.
- PNG: Ideal for images that need transparency, PNG maintains high quality but results in larger files compared to JPEG.
- TIFF: Often used for print, TIFF files provide excellent quality without compression artifacts, but they are too large for quick online sharing.
Setting Up for SEO Optimization
To maximize the visibility of your drone photography online, employing SEO strategies is crucial. Here are key tactics to implement:
- Image File Naming: Use descriptive file names that include relevant keywords related to your aerial imagery, making them searchable.
- Alt Text: Fill out descriptive alt text for each image. This provides context for search engines and improves accessibility for users who rely on screen readers.
- Structured Data: Using structured data markup can enhance how search engines display your images, improving click-through rates.
Resizing and Compressing Photos
Images that are too large can hinder website performance. Resizing and compressing images improves loading speeds—vital for retaining viewer interest. Consider these practices:
- Aspect Ratios: Maintain optimal aspect ratios that suit the intended display platform—be it a website, social media, or print.
- Compression Techniques: Use compression tools to reduce file size without sacrificing significant quality. Many online tools can assist with this.
- Dimensions Adjustment: Prior to uploading, adjust dimensions to match the display size requirements, which can save bandwidth and improve performance.
Showcasing Your Edited Drone Photography
Creating a Portfolio Website
Having an online portfolio is crucial for showcasing your drone photography work. It allows potential clients and enthusiasts to view your best images neatly organized. Here’s how to build an effective portfolio:
- Choose a Platform: Use website builders like Squarespace, Wix, or WordPress to create an accessible and attractive portfolio site.
- Organization: Group images by categories—landscapes, urban imagery, events, etc.—this helps viewers navigate and find what interests them.
- About Me Section: Include a personal introduction, detailing your background in photography and any specialties you offer.
Sharing on Social Media Effectively
Social media platforms are great for exposure and engagement. Here’s how to maximize your social media sharing:
- Choose the Right Platforms: Identify where your target audience spends their time—Instagram, Facebook, Twitter, and even TikTok can be beneficial for visual content.
- Engaging Captions: Write compelling captions that tell the story behind the image, incorporating relevant hashtags to reach a broader audience.
- Consistent Posting Schedule: Maintain a regular posting schedule to keep your audience engaged and coming back for more.
Gaining and Utilizing Feedback
Soliciting feedback on your drone photography can give new perspectives and help refine your work. Here’s how to engage with your audience for fruitful feedback:
- Ask for Opinions: Use social media and photography forums to solicit feedback on specific images or editing techniques.
- Incorporate Suggestions: When receiving constructive criticism, consider making adjustments to improve your work based on the input.
- Participate in Community: Join photography groups and participate in critique sessions to gain insights from other photographers.


