Understanding Interior Painting: Basics and Benefits
What is Interior Painting?
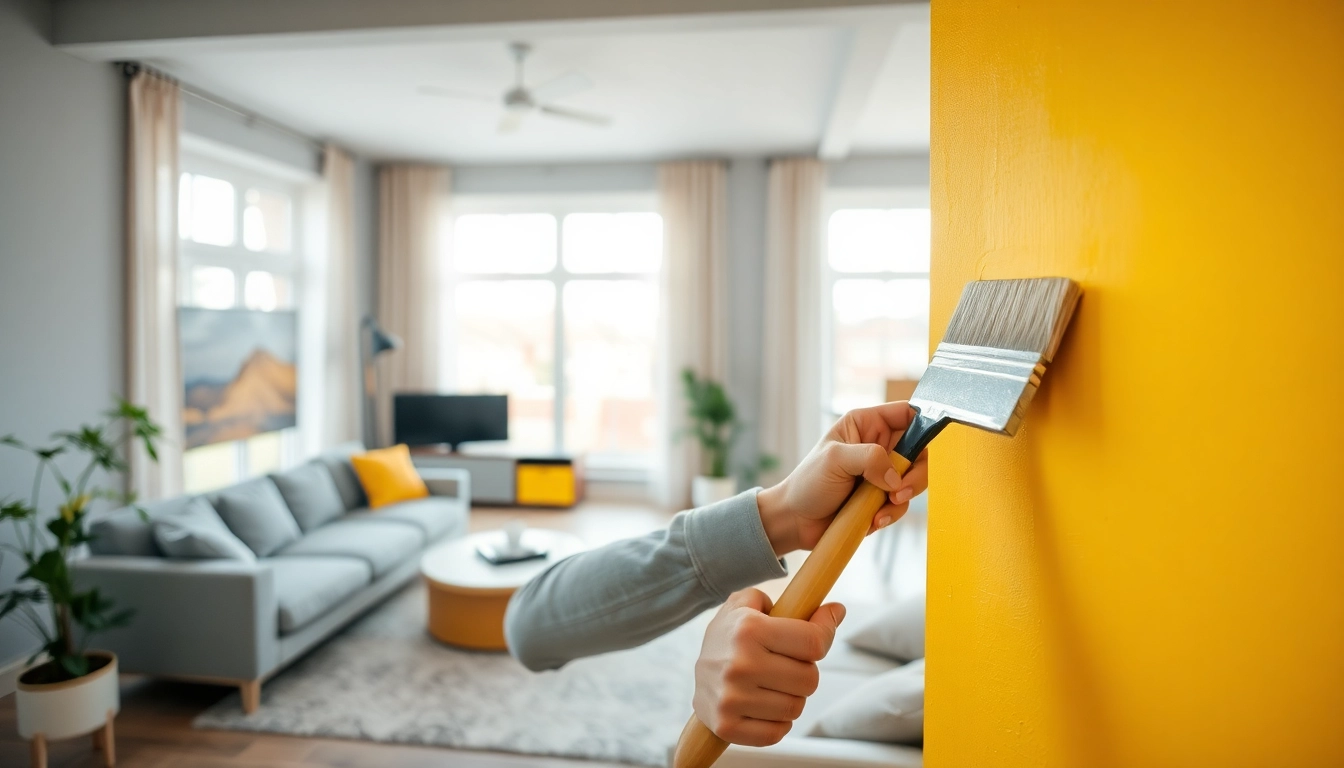
Interior painting involves applying a protective and decorative layer to the surfaces of a dwelling’s interior. This practice encompasses various areas, including walls, ceilings, woodwork, and cabinetry, transforming them to enhance visual appeal and protect surfaces from wear. Professional painters often employ different techniques and tools to achieve a flawless finish, while DIY enthusiasts may opt for various methods to accomplish similar results. Mastering the art of interior painting can significantly alter the mood and ambiance of your space, making it essential for homeowners looking to refresh their interiors.
Advantages of Professional Painting Services
While DIY painting can be a cost-effective option, hiring professional painters offers numerous advantages. Firstly, their expertise ensures a higher quality of finish. They are well-versed in the intricacies of color selection, surface preparation, and application techniques, which significantly impacts the final result. Moreover, professional painters have access to high-quality materials and equipment, which can result in a faster, more efficient process. They are trained to handle challenging situations, such as uneven walls or intricate trim work, that may hinder the progress of an average DIY painter. Ultimately, investing in professional services can save time, reduce stress, and enhance your overall satisfaction with the project.
Choosing the Right Color Scheme for Your Space
Color choice is a pivotal aspect of interior painting. It can affect the perception of space, light, and even mood. To select an appropriate color scheme, consider the purpose of each room—warm tones like yellows and oranges can foster creativity and energy, while cooler tones such as blues and greens promote calm and relaxation. Additionally, consider the amount of natural light each room receives, as this will influence how colors appear on the walls. Utilizing tools and resources such as color wheels or mobile apps can help visualize potential combinations and give you greater confidence in your choices. Selecting the right colors is not just about aesthetics; it’s about enhancing lifestyle and creating a harmonious environment.
Costs Involved in Interior Painting
Average Pricing Breakdown for Interior Painting
The cost of interior painting varies widely based on several factors. As of recent estimates, most homeowners can expect to pay between $1.50 to $3.50 per square foot for professional services. This translates to an average total cost of approximately $1,800 to $10,000 for a standard-sized home, depending on the complexity of the project and materials used. For instance, a small room may cost between $300 and $800 to paint, while larger spaces can significantly exceed these amounts. Additionally, labor costs can increase depending on the painter’s experience and the demand for services in your area.
Factors Affecting the Cost of Interior Painting
Several factors contribute to the fluctuation in interior painting costs. The type of paint chosen directly impacts expense, with higher-quality paints priced higher but often offering better coverage and longevity. The size and condition of the surfaces also play a role; walls with extensive repairs may require additional prep work and primer, leading to higher labor costs. Geographic location should not be overlooked, as prices can differ between urban and rural settings, and even from one neighborhood to another. Lastly, the time of year can influence pricing, with peak seasons for home improvement driving up demand and costs.
DIY vs. Professional Interior Painting: Cost Comparison
When evaluating whether to hire professionals or tackle the project yourself, consider both direct costs and the value of your time. DIY painting can save on labor costs, but it requires an investment in tools, materials, and potentially a steep learning curve. Beginners may face additional costs from materials wasted due to lack of experience. On the other hand, hiring professionals incurs upfront costs that can yield long-term benefits in terms of quality and durability. It’s also worth noting that a professional finish may enhance your home’s value, potentially offsetting initial expenses. Weigh these costs against your budget, timeline, and desired outcome to determine the best approach for your situation.
Techniques for a Professional-Looking Finish
Preparation: Cleaning and Priming Walls
Preparation is critical to achieving a professional-looking finish. Before painting, it’s essential to clean the walls thoroughly to remove dust, grease, or any existing paint chips. Using a mild detergent solution can effectively prepare the surface. After cleaning, inspection for imperfections such as cracks or holes should be performed, followed by necessary patching and sanding to ensure a smooth application. Primer is another vital component, as it provides a uniform surface that enhances adhesion and color vibrancy. Depending on the existing wall color and the new color chosen, primer may be a necessity to prevent bleed-through and maintain color accuracy.
Essential Tools for Interior Painting
Having the right tools can make all the difference between an ordinary paint job and a stunning finish. Essential items include high-quality brushes and rollers, painter’s tape for sharp lines, drop cloths to protect the floors, and a paint tray for easy access. Investing in tools like an extender pole for rollers can simplify the process when painting high ceilings or walls. Additionally, consider specialty tools such as a paint edger for detailed work on trim and corners. Organizing tools effectively will streamline your workflow, making the painting process more manageable and enjoyable.
Advanced Painting Techniques for Precision
To elevate your painting project, mastering some advanced techniques can help achieve a refined look. For instance, using the “cut in” technique allows for cleaner lines where walls meet ceilings. This involves using a brush to carefully paint along edges, ensuring that the roller doesn’t smudge into unwanted areas. Another effective method is the “two-coat rule,” where a second coat is applied after the first completely dries, ensuring even coverage and depth of color. Experimenting with textures using sponges or rags can also add an artistic flair to walls, creating an appealing finish. Design options such as accent walls can further enhance focal points within a room.
Challenges in Interior Painting and How to Overcome Them
Common Mistakes to Avoid During Interior Painting
Numerous pitfalls can hinder the interior painting process. Among the common errors is rushing through surface preparation; taking shortcuts can lead to poor adhesion and unsightly finishes. Overusing paint can result in drips and uneven surfaces, while failing to follow the correct order—ceiling, walls, then trim—can complicate cleanup. Always remember to tape off areas meticulously to avoid any unwanted paint splatters and to allow for proper drying time between coats to ensure a flawless completion.
Dealing with Different Wall Textures and Finishes
Understanding the wall’s texture is crucial before painting, as different finishes may require tailored approaches and tools. Smooth walls allow for easier application, while textured walls may need specific roller covers or stipple brushes to accommodate the surface. It’s also advisable to test a small area first to see how the paint interacts with the texture and ensure desired results. If working with wallpaper, proper removal techniques and wall treatment must be applied, which can be time-consuming but ultimately necessary for a polished outcome.
Weather Considerations for Interior Painting Projects
While interior painting projects are typically not as influenced by outdoor weather, the climate can still impact the drying time and application process. High humidity may cause paint to take longer to cure and can lead to issues with mold growth if ventilation is lacking. Conversely, excessively dry conditions can lead to quicker drying times, potentially generating uneven application. When planning your painting project, consider using dehumidifiers or air conditioning to manage indoor humidity levels, ensuring an ideal environment for paint application.
Post-Painting Care and Maintenance
Best Practices for Cleaning After an Interior Painting Job
After completing your interior painting, the next step is proper cleaning. Begin by removing any painter’s tape while the paint is still slightly tacky to avoid peeling. Clean brushes and rollers thoroughly with warm soapy water or appropriate solvents, depending on the type of paint used. Dispose of any unused paint responsibly, and consider saving some for touch-ups in the future. A final sweep or vacuuming of the area will help eliminate paint crumbs and splatters, showcasing the crisp finish of your paint job.
How to Maintain Your Newly Painted Walls
Maintaining your newly painted walls involves regular cleaning without harsh chemicals that can deteriorate the paint. A simple solution of warm water and mild soap will usually suffice. For heavily trafficked areas, consider using a semi-gloss or satin finish for easier cleaning. Allowing pets or furniture to scratch the surface can cause premature wear; therefore, attentive care should be maintained to provide longevity to the paint. Additionally, keeping an eye out for imperfections that may require touching-up will ensure the walls remain pristine.
When to Repaint: Signs Your Interior Needs a New Coat
Indicators that it’s time to repaint your interior surfaces can be subtle yet noticeable over time. Fading colors, peeling or cracking paint, and stains caused by spills or exposure to moisture can significantly diminish the aesthetic appeal of your home. High-traffic areas such as hallways or kitchens may show signs of wear faster than other areas. Regular inspections can help identify when these signs appear, allowing you to plan and budget for repainting before issues escalate.